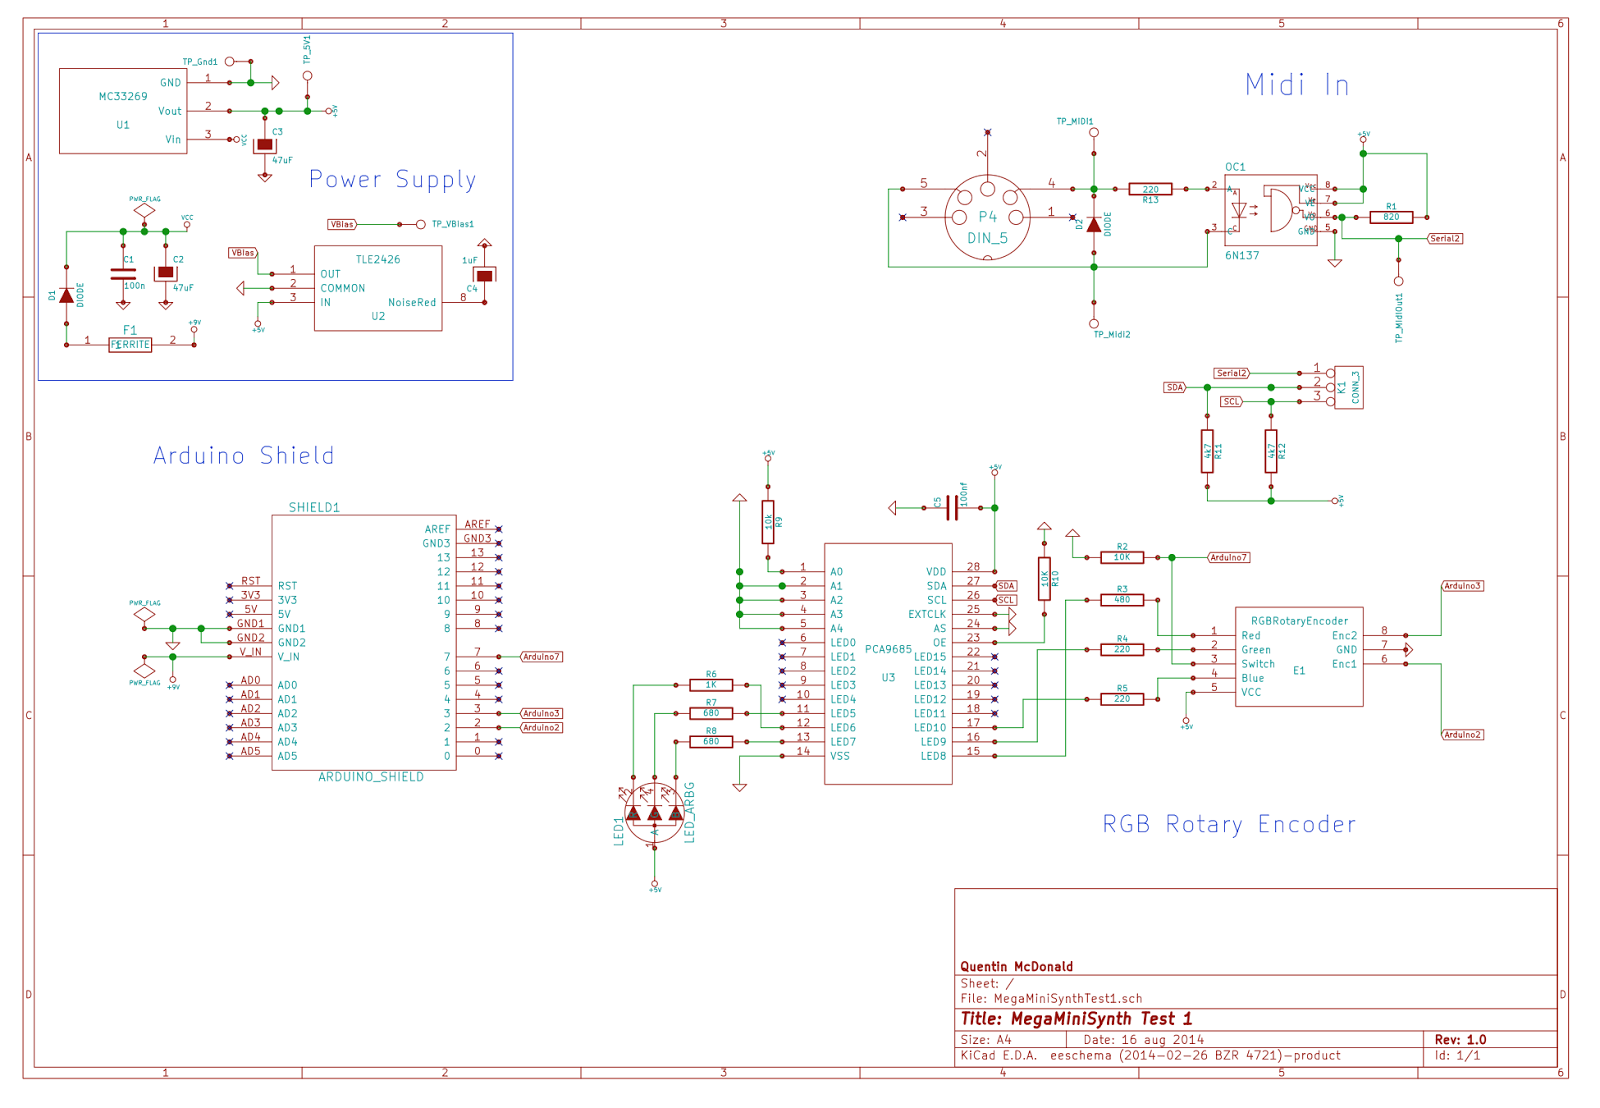
In my original schematic I neglected a resistor in the MIDI in (R13), that's shown in the updated schematics attached. Fortunately the 5PIN DIN socket is pretty chunky and it was easy enough to clip off one of the leads and attach a 200 Ohm resistor. Kind of a hack but part of the reason I did this "throwaway" prototype was to sort out things like this.
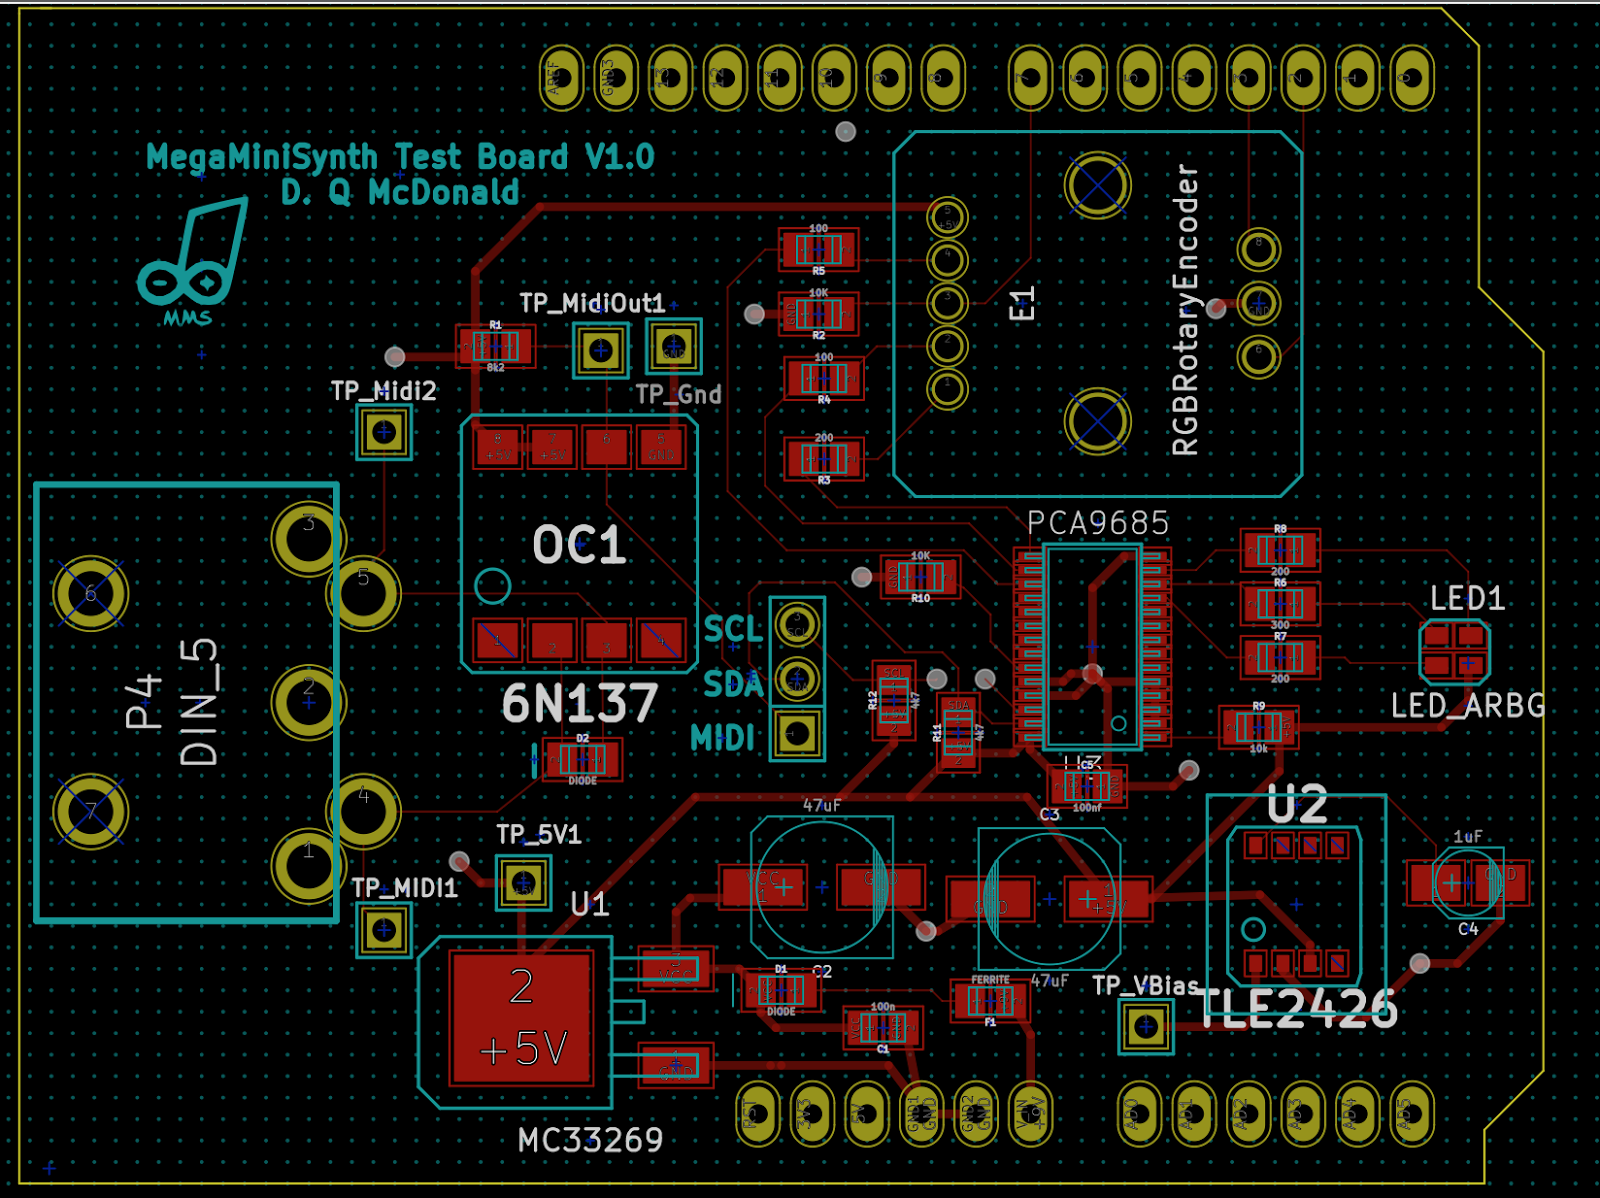
The board layout was pretty straight-forward, I did a regular sized (rather than Mega sized) arduino shield in order to save some money and just use wire jumpers from the MIDI to serial 1 and the SDA/SCK connections.
Soldering was pretty straight-forward - the most challenging part was the PCA9685 PWM driver in a 28 pin TSSOP package. It took a bit of flux and braid to remove all the bridges but I'm reasonably confident it's soldered correctly. I could test that the connections seem to make sense, even though my multimeter probes are just fine enough to fit on the 0.5mm pitch pins. Everything else was fairly easy in comparison, even the RGB LED which more of less sits on the pad, and I was especially pleased with how well the footprint for the rotary encoder worked out since I'd had to develop that from the (less than straight-forward) measurements in the datasheet. When I got the board the encoder clipped in easily and felt quite secure.
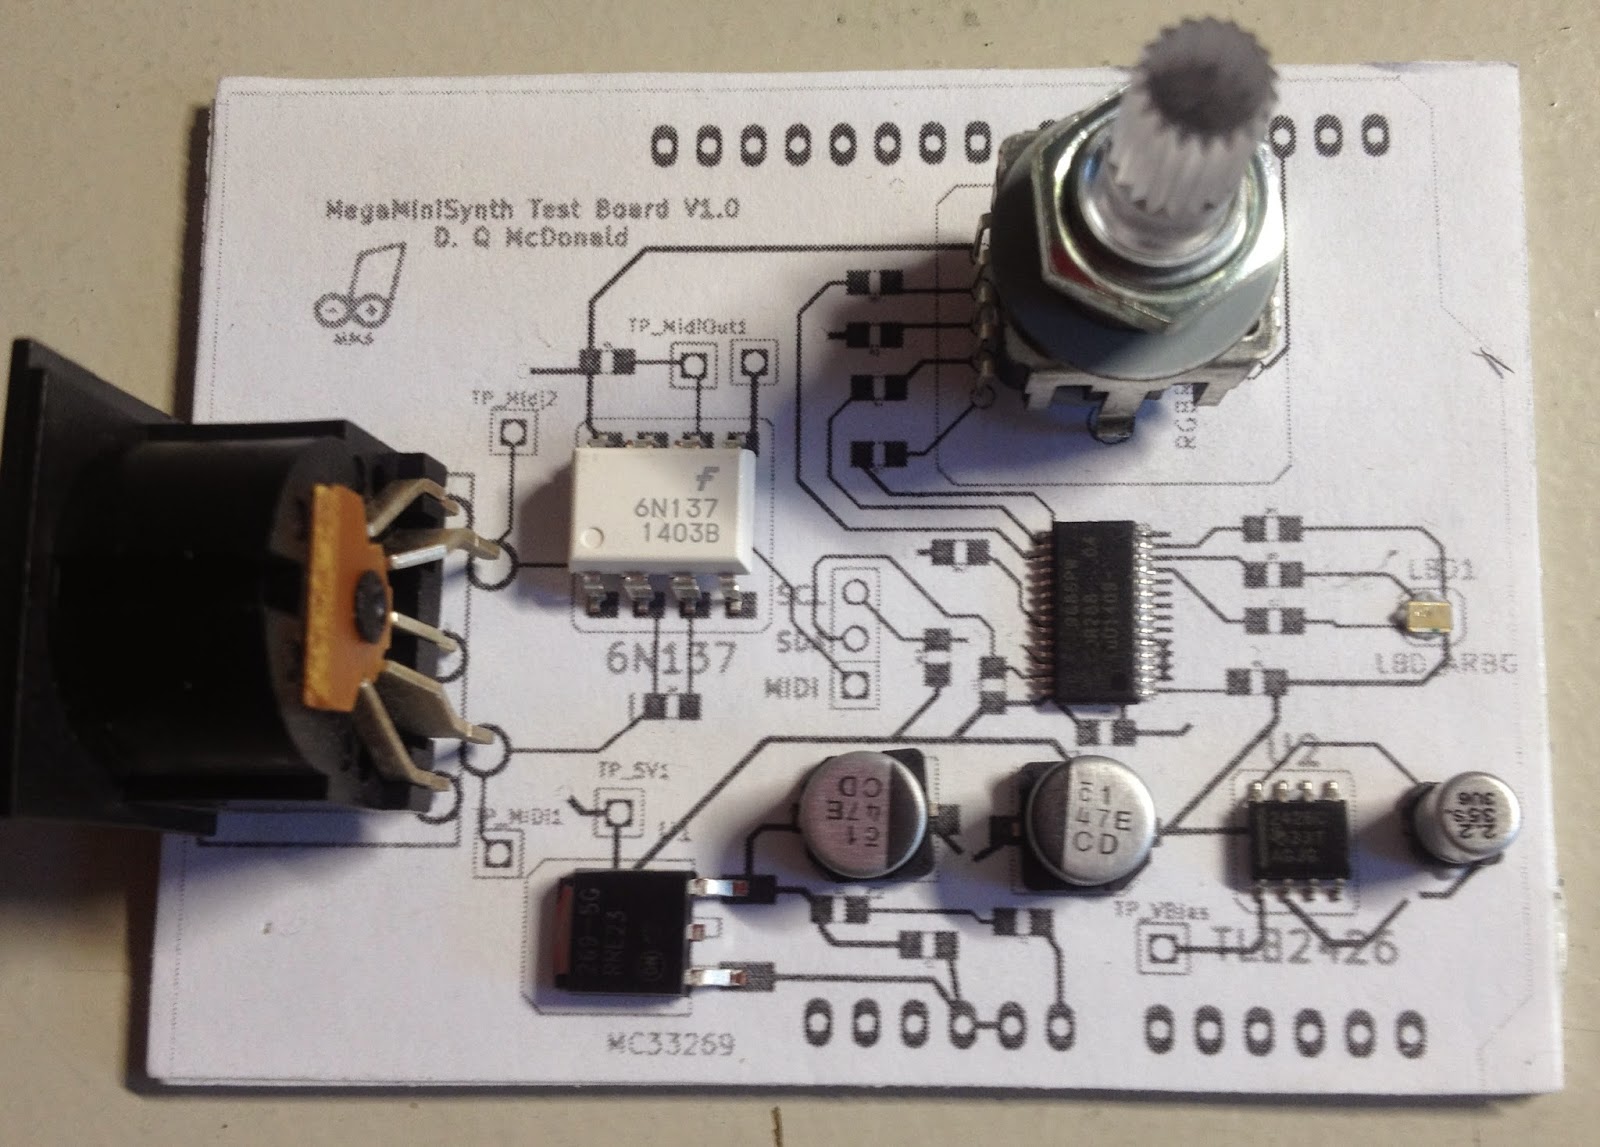
Before I sent the board off to OSH Park for manufacture I printed out an actual version and mounted on some foamcore. Then I stuck most of the components on with BlueTak to ensure things would fit:
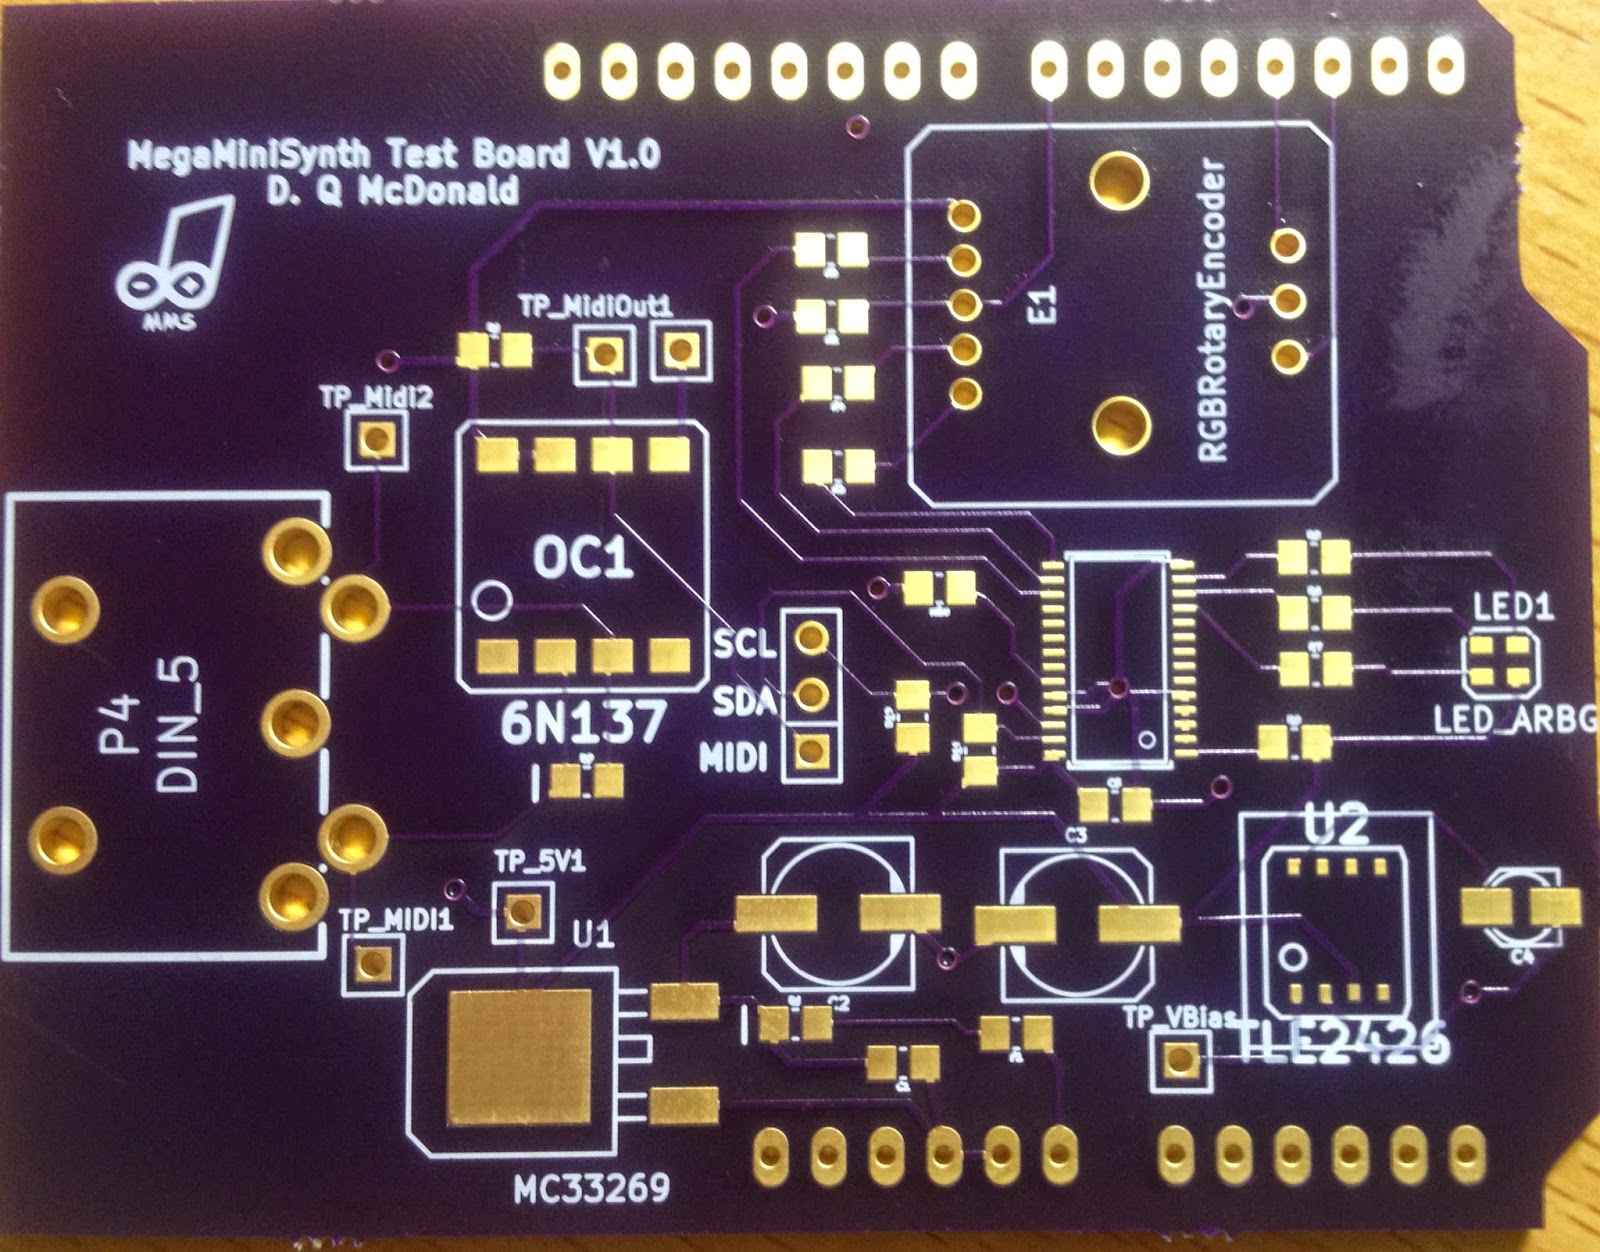
This didn't allow me to catch the missing resistor but at least I had some confidence that the major footprints were nicely sized. When the real board arrived I simply detached these from the prototype and soldered them on. Here's a couple of photos of the final board, with and without components. Note the resistor bridged onto pin4 of the DIN5 socket:
The real test was when the thing was powered up. The absence of magic smoke was a good sign. First test was to measure the voltage coming out of the regulator and the railsplitter. When I remembered I needed to power with 9V (not just USB) things looked good with 4.99V coming out of the regulator and exactly half that out of the railsplitter.
Next test was the rotary encoder - this worked just as I expected both in terms of the pushbutton and the encoder itself. Finally I tried out the MIDI, worked first time and it seems the 6N137 high speed optocoupler works well.
The only thing that wasn't working were the RGB LEDs, those in the encoder and the stand-alone one. They were on with full brightness for all colors. Perhaps my soldering of that 28 pin IC hadn't been as good as I hoped? Unfortunately tracking this down could be a pain as it could be a hardware, a software (I2C) or even a conceptual problem (maybe you just can't use RGB LEDs this way). I was all prepared to drag out my oscilloscope and do some I2C logic analysis.
To support this PWM driver I am using the Adafruit library for this IC which was originally designed for this very nice board. I actually bought one of those boards that I hope to use in some (yet to be defined) future project so I feel a little less guilty in using the library here. I turned on some debugging in the library and could see that as long as I set the I2C address for the device correctly (0x41 in my case since I have the A0 pin high and the remaining address pins low) then it could write and then read mode settings correctly from the PCA9685. This was very positive since it showed the chip was working correctly and there was no issue with powering of basic I2C connections.
The actual issue turned out to be simply in the use of the library. With these common anode RGB LEDs the PCA9685 is sinking rather than sourcing current. Therefore PWM works in the opposite direction to what one expects. A full width pulse actually turns the LED off, not on. Once I adjusted the code for that both the LEDs functioned fine and I'll definitely use the PCA9685 in my final design for the rotary encoder and a couple of indicator LEDs.
With this proof of concept of the some of the basic functionality complete it's now time to start laying out the "proper" shield, and to get the software into a bit better organized shape.


